Advanced Google keyboard Settings
Since you have understood Gboard’s primary functions in Google Keyboard Settings Part 1, it is time to go to the next stage! In Part 2, we will explore features like gesture typing, voice typing, and other personalized features of the Gboard. These options can enhance your experience when using Gboard and can also save you time.
Gesture Typing: Glide Through Your Texts
People who adore both speed and convenience will find gesture typing (also known as glide typing) to be a relief. Instead of pressing on the keys, you can trace your finger conveniently over the keyboard to create words.
How to Enable Gesture Typing
- Open Gboard Settings.
- Go to Glide Typing.
- Toggle on Enable Glide Typing.
Why Use Gesture Typing?
- It’s faster than regular typing.
- Perfect for one-handed use.
- Reduces typing errors once you get the hang of it.
“Pro Tip: Practice makes perfect! Glide typing might feel weird at first, but you’ll love it once you get used to it.”
Voice Typing: Let Your Words Flow
There are times when it is easier to talk and capture the moment rather than typing everything down. Using speech recognition, Gboard transcribes your discussions into writing.
How to Use Voice Typing
- Tap the microphone icon on the keyboard.
- Speak clearly into your device.
- Watch your words appear on the screen in real time.
Tips for Better Voice Typing
- Use a quiet environment for accurate transcription.
- Speak slowly and enunciate clearly.
- Say punctuation marks like “comma” or “period” for better formatting.
“Voice typing isn’t just convenient; it’s a lifesaver when you’re multitasking.”
Text Shortcuts: Save Time with Personal Dictionary
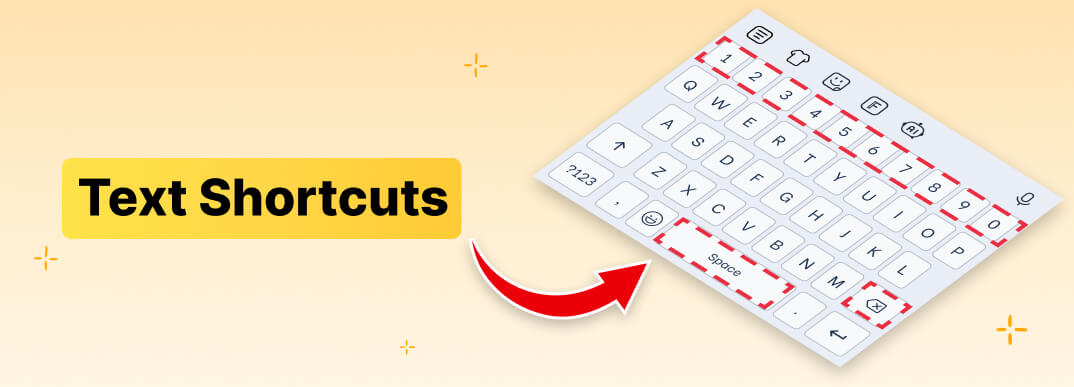
If you frequently type the same phrases or email addresses, using Gboard’s personal dictionary will come in handy.
How to Create Text Shortcuts
- Open Gboard Settings and go to the Dictionary.
- Tap the Personal Dictionary and select your language.
- Add a word or phrase and assign a shortcut.
For example:
- Phrase: “On my way!”
- Shortcut: “omw”
Now, typing “omw” will automatically expand to “On my way!”
Why Use This Feature?
- Saves time on frequently used phrases.
- Reduces repetitive typing.
- Perfect for professional or personal use.
Clipboard Manager: Copy and Paste Like a Pro
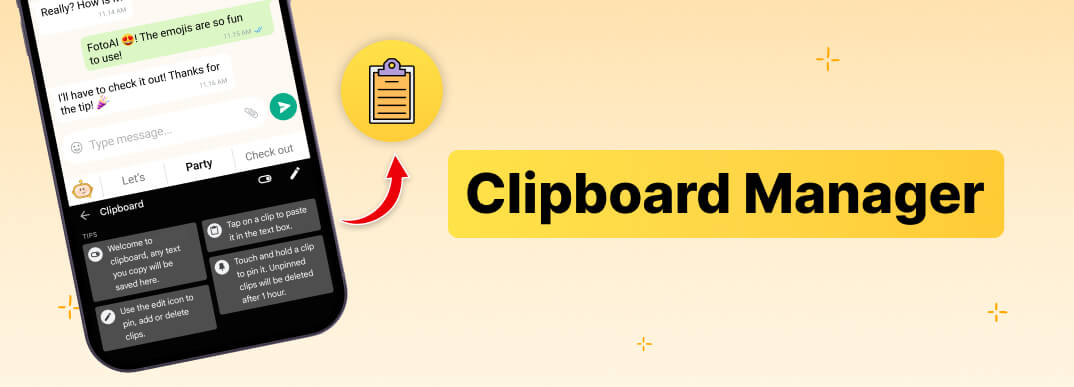
Gboard’s clipboard manager is one of those features that you didn’t know you needed. It saves all the text that you have copied for easy access.
How to Use the Clipboard
- Tap the clipboard icon on your keyboard.
- View your recent copied items.
- Pin important text to keep it saved longer.
Best Practices
- Use it to save addresses, email templates, or quick replies.
- Pin your most-used snippets for easy access.
“The clipboard manager is like a mini filing cabinet for your most important texts.”
Emoji Kitchen: Get Creative with Emojis
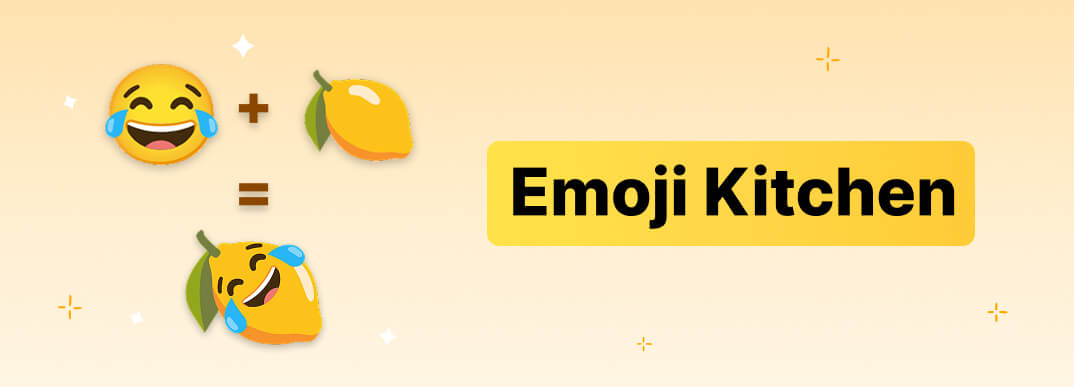
While emojis are entertaining, have you ever considered putting two or more together? Well, you are in luck! You can now merge emojis with Gboard’s amazing feature, Emoji Kitchen!
How to Use Emoji Kitchen
- Tap the emoji icon on your keyboard.
- Select two emojis to see suggested mashups.
- Tap your favorite combination and send it.
Why You’ll Love Emoji Kitchen
- Adds creativity to your texts.
- Perfect for expressing emotions in unique ways.
- Make your chats stand out.
For those who love creative texting, FotoAI offers tools to design your own emojis and stickers, making every conversation stand out.
Translate as You Type: Break Language Barriers
Switching between languages while typing is simple with Gboard’s Google Translate integration.
How to Use the Translate Feature
- Tap the three-dot menu on your keyboard.
- Select Translate.
- Type in your language, and Gboard will translate it instantly.
When to Use It
- Messaging friends who speak another language.
- Writing emails or posts in a different language.
- Learning a new language by seeing translations in real time.
“This feature is like having a personal translator in your pocket.”
Advanced Text Correction: Type Smarter, Not Harder
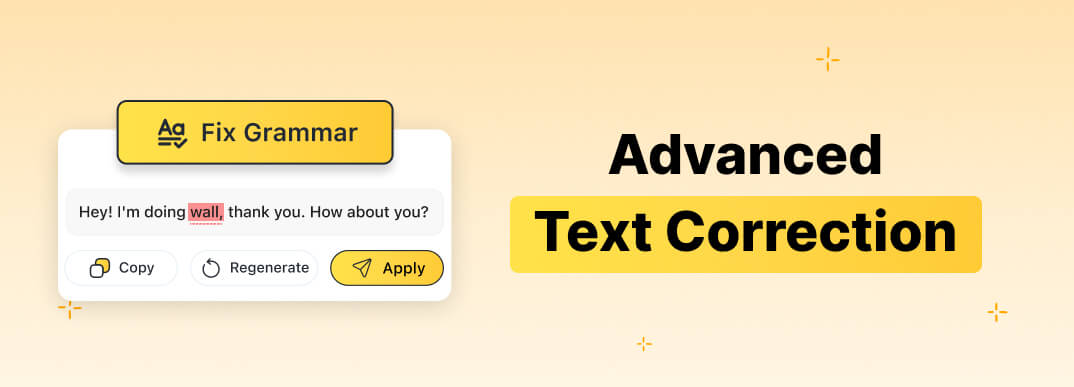
Gboard’s innovative text correction technologies can save you time with typing without sacrificing accuracy.
Key Features
- Auto-Correction: Fixes typos automatically.
- Suggestions: Offers word suggestions as you type.
- Grammar Check: Highlights grammatical errors (available in supported languages).
How to Enable Text Correction
- Go to Gboard Settings.
- Tap Text Correction.
- Toggle on features like Auto-Correction, Auto-Capitalization, and Show Suggestions.
“Smart text correction ensures your messages are polished, even when you’re in a rush.”
Quick Tips for Power Users
- Floating Keyboard: Enable the floating keyboard for easier typing while multitasking.
- Quick Cursor Control: Swipe across the spacebar to move the cursor precisely.
- GIF Search: Tap the emoji icon and switch to GIFs to find the perfect animation.
- One-Handed Mode: Use this mode on large phones for better reach.
Conclusion
Equipped with the knowledge of Gboard’s comprehensive features, the next step is to enhance your overall experience in Gboard. With Gboard, the ability to communicate effortlessly, whether through hurried gestures and shortcut making or crossing languages, is guaranteed. In the next blog, we’ll learn about Gboard’s troubleshooting tips and privacy settings to keep your keyboard running smoothly and securely & If you missed out first blog which shows basic settings of the google keyboard.
Part 3: Troubleshooting and Privacy Tips for Gboard:
Fixing Common Issues
- Crashes: Clear Gboard’s cache via Settings > Apps > Storage.
- Keyboard Not Showing: Re-enable Gboard in Manage Keyboards.
- Autocorrect Problems: Reset the dictionary in Gboard Settings > Delete Learned Words.
Privacy Settings
- Turn off personalized suggestions: Gboard Settings > Advanced > Personalized Suggestions.
- Use Incognito Mode for sensitive typing.
Optimizing Performance
- Keep Gboard updated via the Play Store.
- Disable unused features to reduce lag.
“Privacy and performance go hand in hand—make the most of both!”